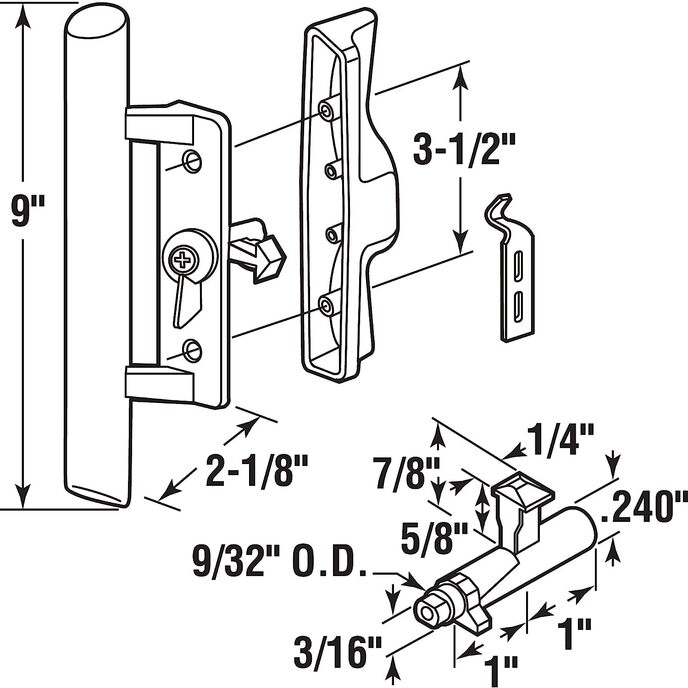
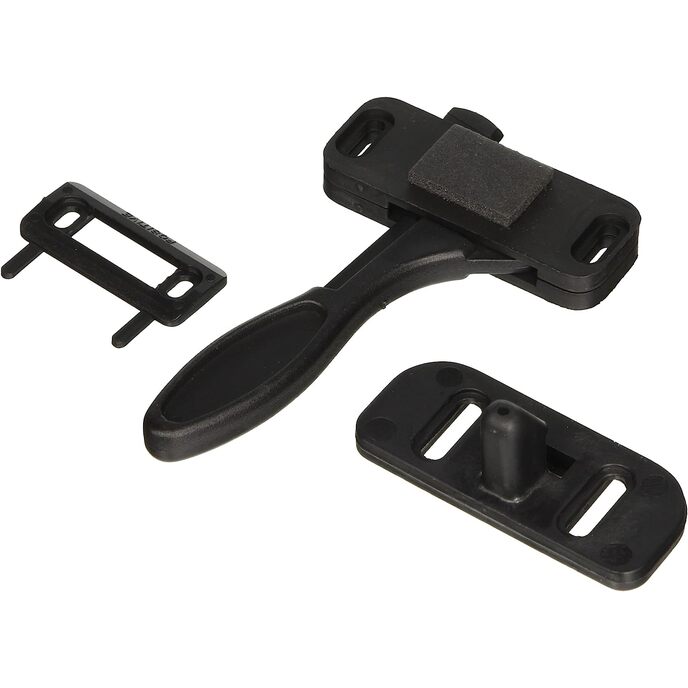
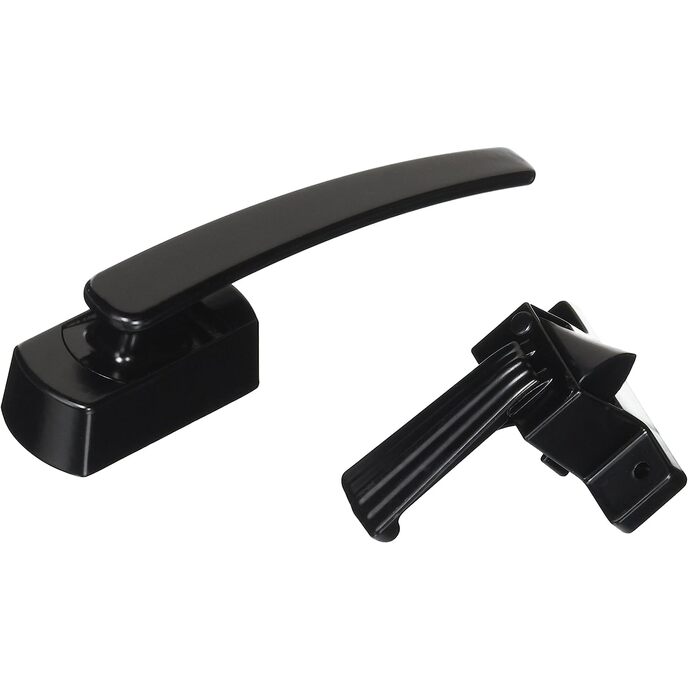
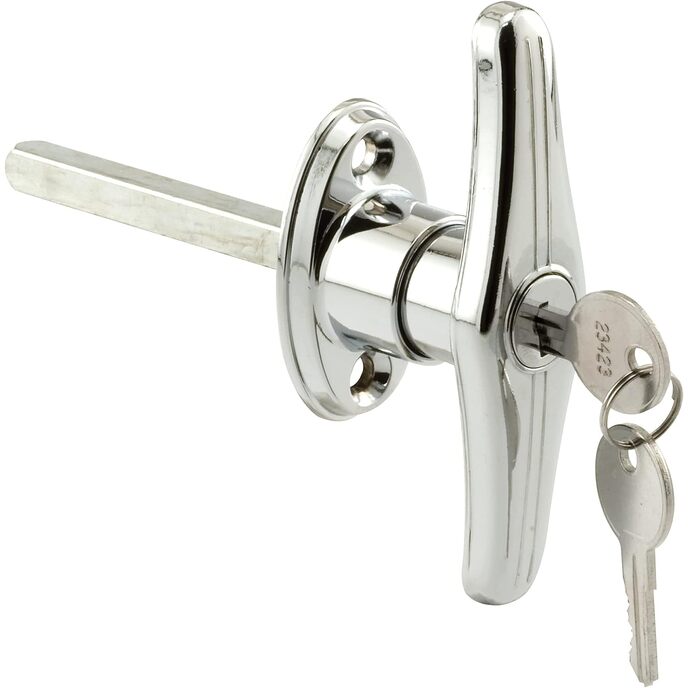
The only applications for this part are Dorwal sliding glass patio doors, the original outdoor handle has the raised letters Dorwal on it, and all the original handles I’ve seen are chrome plated. This version is made from mostly interchangeable parts allowing the installer to re-use as many of the original Dorwal parts as desired. All the examples I’ve seen appear to have been made using the same tooling. This part has black powder coated castings and a cost-reduced version of the wood grab. The replacement hook and latch are modified to mount toward the outside of the door channel instead of the inside. That’s useful if the hook was torn out of the frame, otherwise re-using the old pieces avoids unnecessary extra work to move the hook and fill the old holes. The one improved component is the indoor handle casting uses posts to mount the latch spring and the original had a slits. In the original part the spring tended to become stuck in the slits holding it out to the side and preventing it from engaging with the latch parts. The instructions don’t indicate how to remove the old handle and latch successfully, but the Dorwal door rail was punched with a pattern that only allows it to be removed and inserted in a specific orientation. Open the door at least 4”. Move the thumb lever to the verrical, latched, position. Use masking tape to keep the outside handle from falling before removing the two large through-the-door screws using a #3 (large) Philips screwdriver. Rotate the handle clockwise until it’s horizontal. The piece inside the door should be visible at the top edge of the handle casting. It has to be aligned exactly vertically to pull it out of the slot in the door with the handle. Now remove the exterior handle. The inside the door rail latch and the hook that mounts in the door frame are different from the original. Re-using the originals avoids a lot of needless work. Unless there’s something wrong with the original latch parts, use those and use the original thumb lever screw when reusing the door latch and hook. The original thumb lever is a design that’s less likely to break, but they’re interchangeable. The replacement part’s wood grab is an inferior substitute on the same hole centers. Re-using the original wooden grab and its screws is usually desirable. The plastic slider marked “night lock” is an avoidable nuisance. The plastic spring member that should create friction holding it in place does nothing and the plastic slide has to be held up whenever the thumb latch is moved for a left side moving panel. For a right side moving panel the night latch can’t remain engaged, it simply falls down, it’s ineffectual but it’s not a nuisance. The original door latch and hook are recessed at the inside edge of the rail and can’t be jimmied. The replacement latch and hook are less recessed and at the outside edge of the rail. The new hook and latch might be more easily jimmied, but it would still be exceedingly difficult. Since the only function of the “night latch” is to make it more difficult to jimmy the door, skip it. Miscreants defeat a hook type sliding door latch by lifting the door roughly 3/8” in the track to allow the latch to clear the hook and moving the door to the side. The door can’t be lifted if the *upper* rollers at the top of the door frame are properly adjusted. The “night latch” only prevents jimmying the door, which is all but impossible anyway. It doesn’t prevent defeating the latch by lifting the door. Properly adjusting the upper rollers will make the door latch as secure as possible. If the night latch is not used, the slot the plastic slider would run in can be closed and concealed. Use a strip of masking tape on the inside of the casting and apply black silicone RTV (room temperature vulcanizing/curing) to fill the slot the night latch would run in. Allow the silicone to cure before removing the tape. The silicone can be reinforced on the inside, only slightly near the center, a bit more away from the latching mechanism, just be sure it won’t interfere with the flat spring once it’s installed. If this is unclear apply the masking tape and assemble the handle for installation before filling the night-latch slot. To re-use the original latch and hook; on the original handle, remove the small screw holding the thumb lever. A fingernail sized dab of white lithium grease around the latch mechanism at the thumb lever end and the opposite end are advised to reduce wear and corrosion. Use the original screw and latch with either thumb lever to mount it through the new indoor casting. The lever should extend upward when the one on the mechanism is toward the door frame and latched and away from the door frame when it’s lifted up but to accommodate both opening directions it will also fit backwards and point down when latched and toward the frame when unlatched. Rotate the latch to the locked position with the two bumps toward the “night latch” slot before installing the flat latch spring as shown on the instruction sheet. The “automatic latching” side is not recommended for this version that doesn’t have a key cylinder. Once it’s closed, the sliding door can’t be opened from the outside. People avoid being locked out or unintentionally locking others out by never fully closing the door - which completely defeats any value that automatic latching might have, allows bugs to sneak in and allows air infiltration. To re-use the original wooden grab; after removing the old handle and before installing the new one swap the handles. Begin by cleaning and polishing the old handle if that will be needed. Continue by noting the orientation of the chamfered ends of the old handle, or put a post-it-note or a piece of masking tape around the bottom end. Next, remove the screws holding both handles to their respective castings. The screws will not be identical. Re-use the old screws to secure the old handle to the new casting. With the bottom end of the handle at 6 o’clock, to top at 12 o’clock and the handle screw holes accessible, the casting will extend to the right (3 o’clock) for a door that opens by sliding to the right, and to the left (9 o’clock) for a door that opens by sliding to the left. After the handle is attached and flipped over to be mounted to the door, the wooden handle will be to the right for a door that slides to the right, and to the left for a door that slides to the left. The original Dorwal indoor 95% zinc 5% aluminum casting breaks when the handle is pulled into the room instead of to the side, and almost always at the top mounting screw. Too much material was removed from the bulk around the screw holes making it weak so it flexes, cracks and eventually breaks there. The outdoor piece never breaks, but eventually the original chrome plating is pushed off the casting when the base metal swells as it oxidizes. The rest of the handle is exceptionally durable, This new interior handle casting has not been reinforced at the through the door screw holes, and will break there just as easily. The beams that extend to the wooden handle are less substantial particularly at the handle screw. The plastic “night latch” is poorly executed and air infiltration through the slot is an unwelcome side-effect. If the Dorwal hook and latch mechanism is re-used, the only difference between this handle and the similar handle with 3-1/2” hole centers for doors 1” thick is that this kit includes through-door rail screws in 3 lengths, for 1-1/4”, 1-1/2” and 1-3/4” doors. Longer screws are readily available, but not always easy to find pre-painted black. To re-use the Dorwal outdoor handle, re-use the original through door screws (or purchase replacements). The original Dorwal outdoor casting uses a larger diameter screw. The larger screws do fit through the holes in the new indoor casting. There is no chrome plated version available. The castings can be painted using decorative chrome finish paint, but chrome paints will not stay shiny